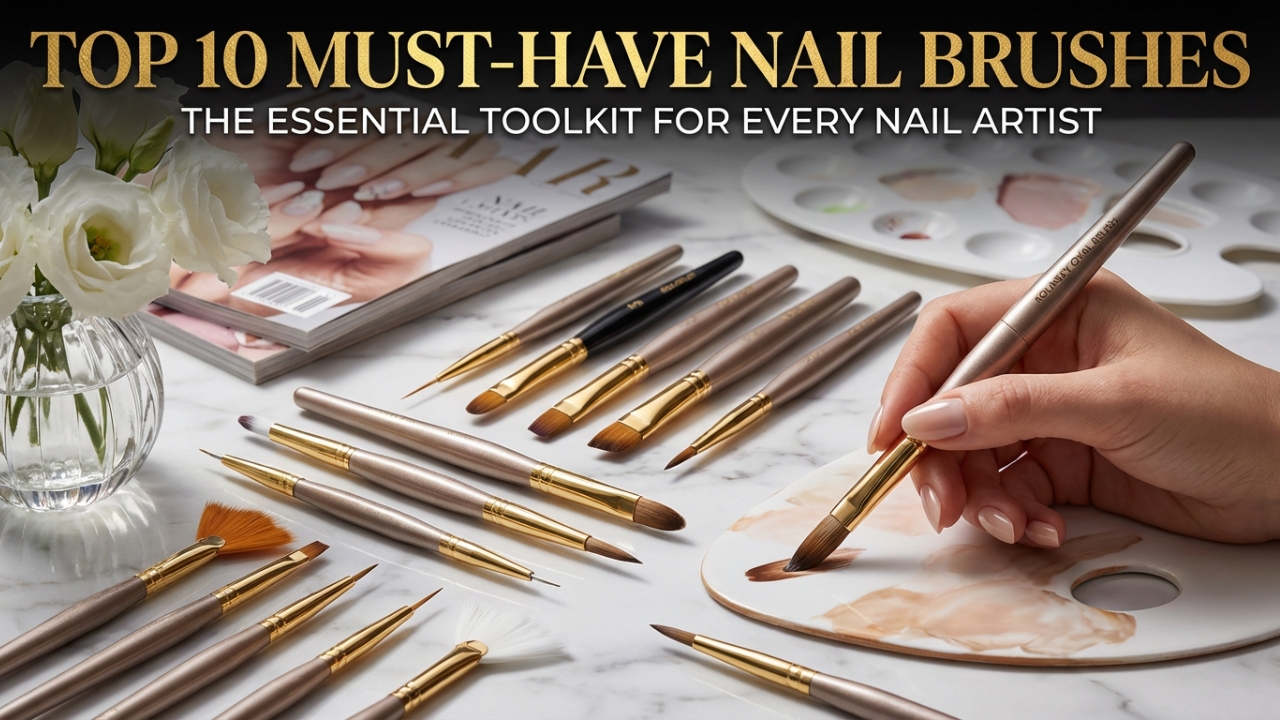
Top 10 Must-Have Nail Brushes for Every Nail Artist: Your Complete Guide to Flawless Nail Art
Hey there, nail art enthusiast! So, you’ve mastered the basic polish application, and now you’re ready to dive into the mesmerizing world of nail art. Or maybe you’ve tried creating some designs, but your lines came out wobbly, and the dots looked more like blobs. Trust me, we have all been there. The truth is, creating those Instagram-worthy nails isn’t just about having a steady hand; it’s about arming yourself with the right weapons from the nail brush set. Think of these brushes as your magic wands. With the right tool, even a seemingly complex design becomes surprisingly simple.
At Nail Shop HUB, we believe that every artist, whether you’re just starting or you’ve been in the game for years, deserves tools that inspire confidence. That’s why we’ve put together this guide on the Top 10 Must-Have Nail Brushes for Every Nail Artist. We’ll walk you through each brush, what it does, and why it deserves a spot in your kit. And hey, if you ever feel lost or just want to upgrade your gear, you can always reach out to us at (+966) 564709249 or shoot us an email at info@fabricationksa.cm. We’re always happy to chat nails!
Read More: Top 10 Nail Polish Brands in the World
What to Consider Before You Buy Your Nail Brush Set
Before we jump into the list, let’s talk about what makes a brush great. First, pay attention to the bristles. They can be natural or synthetic. Natural Kolinsky sable brushes are the gold standard for acrylic work because they hold a perfect bead and keep their shape, but they are pricey and require more care. Synthetic brushes, on the other hand, are durable, easier to clean, and perfect for gel polishes since they resist the product’s absorption. Best brushes for nail art beginners often start with high-quality synthetics because they are forgiving and budget-friendly.
Secondly, look at the handle. It should feel comfortable in your hand, kind of like holding a good pen. An ergonomic handle reduces hand fatigue during those long, detailed sessions. Lastly, consider what medium you’ll be using. Are you a gel guru, an acrylic aficionado, or a classic polish painter? Your choice might lead you to a specialized acrylic nail brush set or a versatile collection for gel work. Remember, reading reviews and even checking out discussions like the Best brushes for nail art reddit threads can give you real-world insight into how these tools perform.
The Fantastic Ten: Your Essential Nail Brushes Lineup
Alright, enough chit-chat. Let’s get down to business and meet the dream team of your nail art toolkit. These brushes are the industry standards, and once you start using them, you’ll wonder how you ever lived without them.
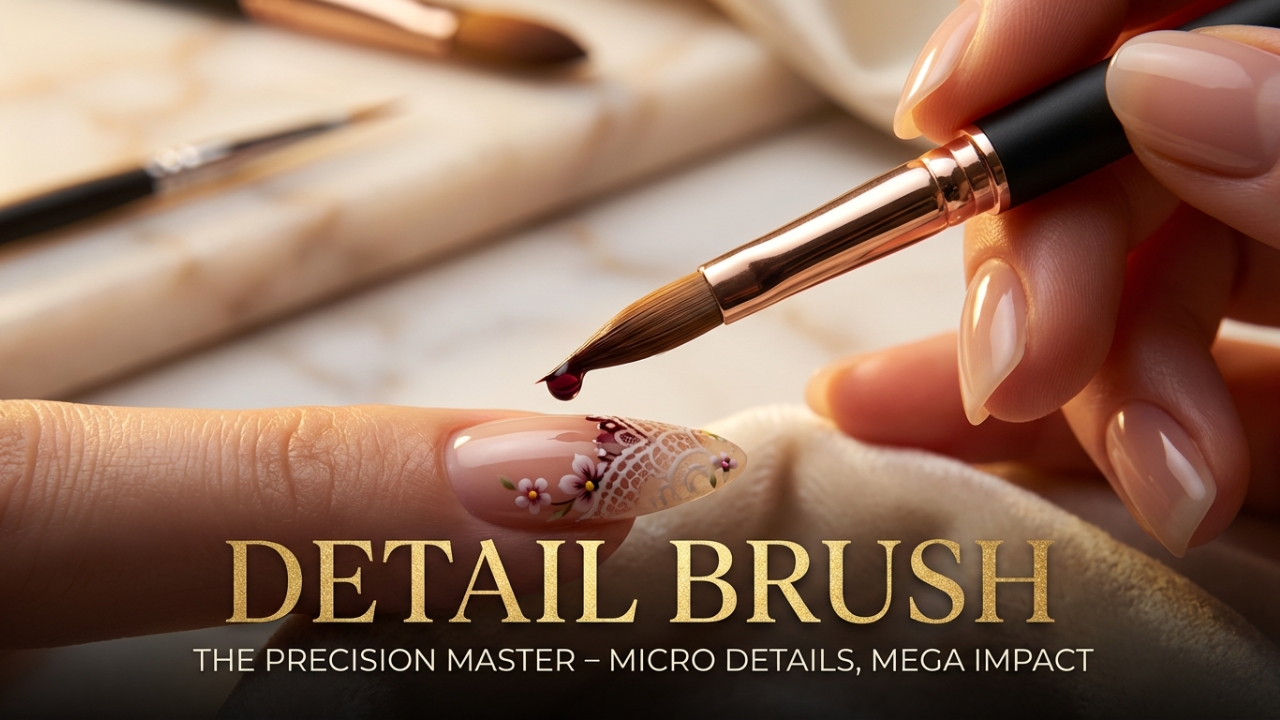
1. The Detail Brush: The Tiny Powerhouse
Check Price on Amazon
First up is the detail brush, and honestly, this little guy is the unsung hero of the nail art world. It features an ultra-fine tip, sometimes with just a few hairs, which allows you to paint the most intricate designs imaginable. We’re talking about tiny florals, delicate lace patterns, miniature faces on cartoon characters, or outlining a complex shape. This is the go-to tool for anyone looking to add that “wow” factor to their nails.
This brush is your best friend when precision is the name of the game. Because its tip is so fine, it holds just a small amount of polish, giving you maximum control. It’s one of the essential nail art brushes professional artists use to sign their work or add the finishing touches that set a good manicure apart from a masterpiece. If you’re looking for names of nail art brush types, the detail brush is often labeled a “micro detail” or “liner” brush, and it’s a non-negotiable for serious artists.
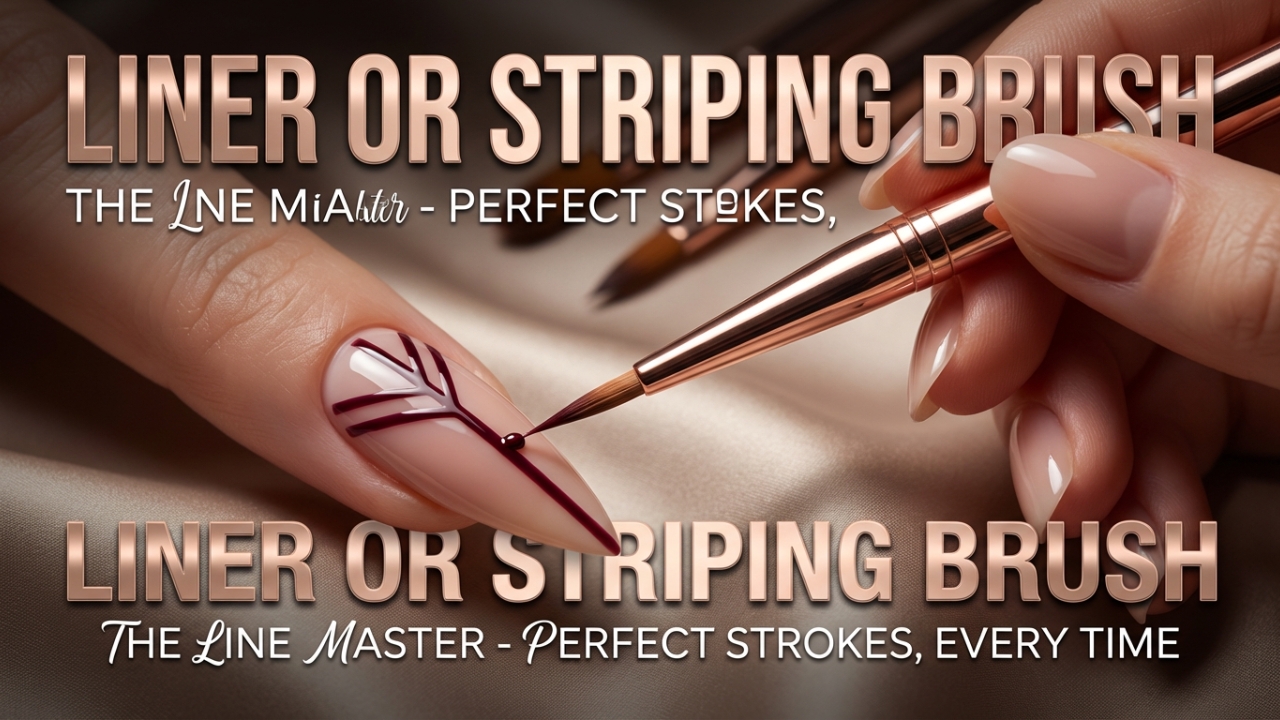
2. The Liner or Striping Brush: For Flowing Lines and Elegant Swirls
Check Price on Amazon
If you love the look of long, continuous lines, elegant swirls, or geometric patterns, then the liner brush, often called a striping brush, is your soulmate. This brush has noticeably long, thin bristles that hold a good amount of polish, so you can pull a line across the entire nail in one fluid motion without stopping to reload. It’s magical for creating those abstract designs that look like they were printed on.
Now, here’s a little secret. If you find that a long liner brush feels a bit wobbly (because let’s face it, we all get the jitters), you might want to try a short liner brush. The shorter bristles bring your hand closer to the nail surface, resulting in superior control. It’s one of the best brushes for nail art beginners to practice with because it helps build confidence. Whether you’re aiming for tribal prints, French tips, or just some funky stripes, this brush is a star player in any professional nail brush set.
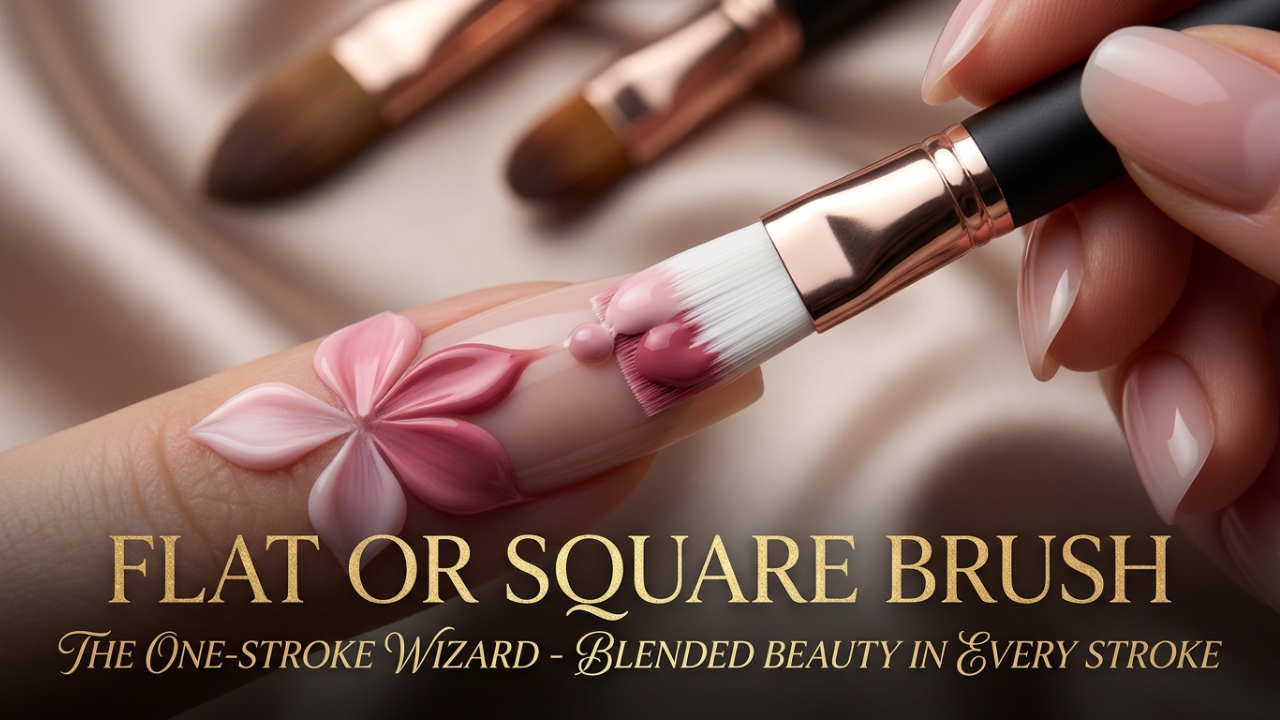
3. The Flat or Square Brush: The Workhorse for Coverage
Check Price on Amazon
Every artist needs a reliable workhorse, and the flat brush is exactly that. It has a straight, firm edge, and it’s incredibly versatile. Its primary job is covering larger areas with precision. Think color blocking, filling in stamped images, or applying a smooth layer of builder gel. When you need a sharp, clean line between two colors, the flat brush is your go-to.
But its uses don’t stop there. In the world of gels, a flat brush is indispensable for applying products like rubber base or colored gels smoothly and evenly without creating bubbles. You’ll often find a high-quality flat brush included in any gel nail art brush set. It gives you that crisp, “salon-fresh” look that’s so hard to achieve with the standard bottle brush. Whether you’re working with acrylics or gels, having a good flat brush in your nail brushes arsenal is a must.
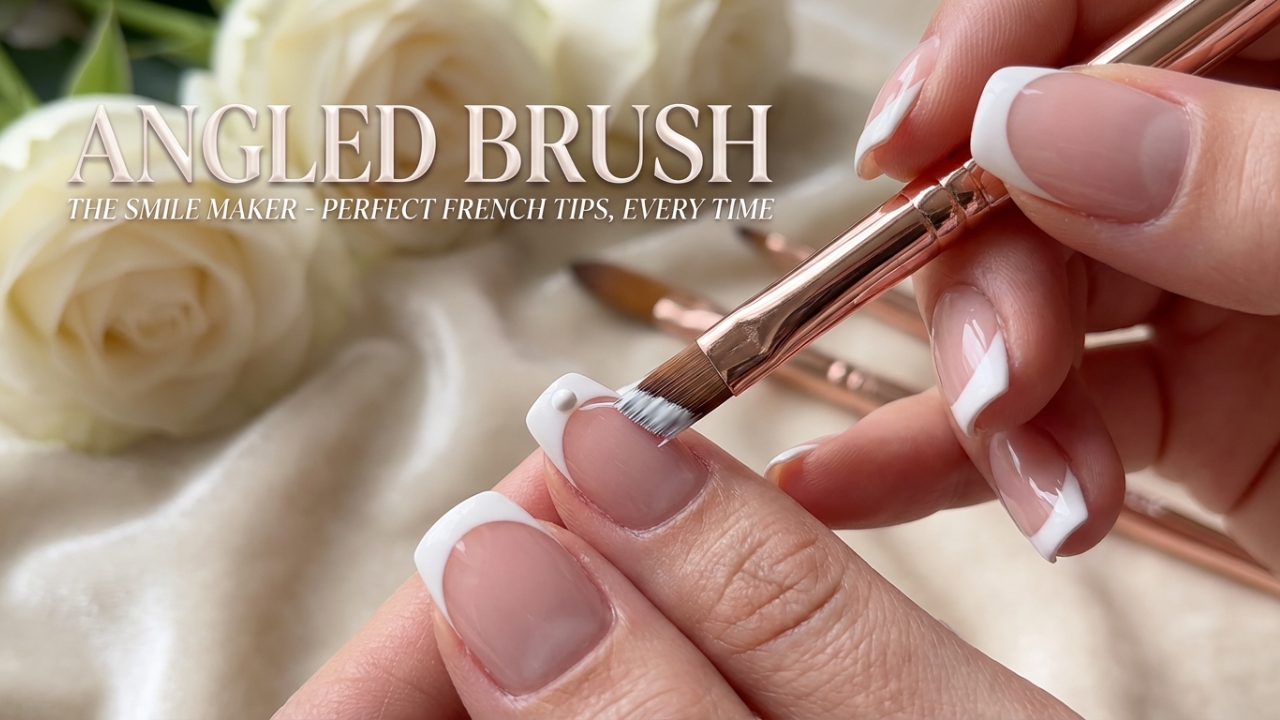
4. The Angled Brush: The Master of Edges and French Tips
Check Price on Amazon
Ah, the angled brush. If you’ve ever struggled with getting that perfect smile line on a French manicure, this brush is about to become your new best friend. Its slanted bristles act as a built-in guide, making it incredibly easy to follow the natural curve of your nail. It’s perfect for creating sharp diagonals and chevron patterns, and for cleaning up the edges of your cuticles for a crisp, clean finish.
But its talents go beyond the classic French tip. You can use the brush’s pointed tip for fine details and its flat edge for broader strokes, making it a super versatile tool. It’s also fantastic for creating one-stroke flowers, where the angle helps shape the petals perfectly. Whether you’re flipping through a nail art brushes and their uses guide or just experimenting, the angled brush always stands out for its precision and ease of use.
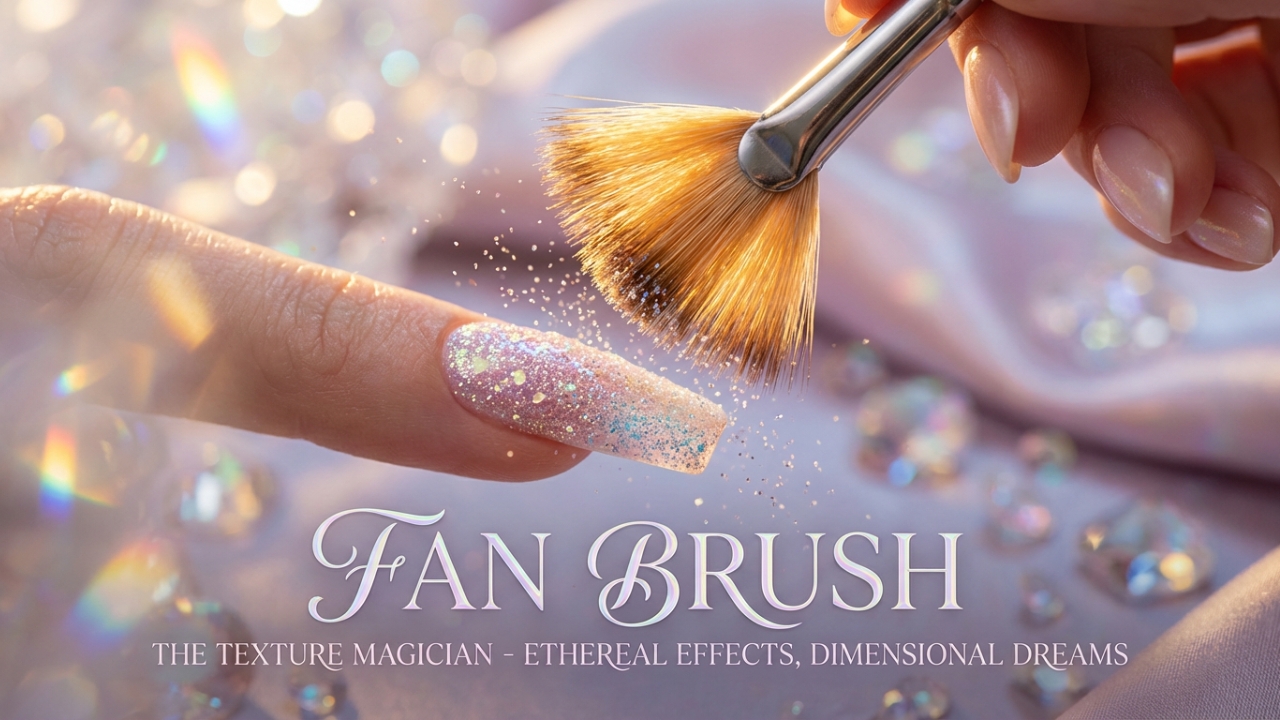
5. The Fan Brush: For Texture and Soft Effects
Check Price on Amazon
This brush looks like a tiny, delicate fan, and it’s often the most underrated tool in the box. But don’t let its delicate appearance fool you; the fan brush is a powerhouse for creating texture and soft-focus effects. It’s perfect for lightly sweeping on loose glitter for a gradient effect, dusting away excess chrome powder, or creating subtle, wispy patterns like marble or stone textures.
It’s also fantastic for blending. Want to create a soft, airbrushed look with your colors? The fan brush can gently blend two shades on the nail, creating a seamless transition without harsh lines. It’s a tool that encourages experimentation. You can find a good one in many art-done nail art brush sets. It adds a layer of creativity to your work that you just can’t achieve with any other brush.
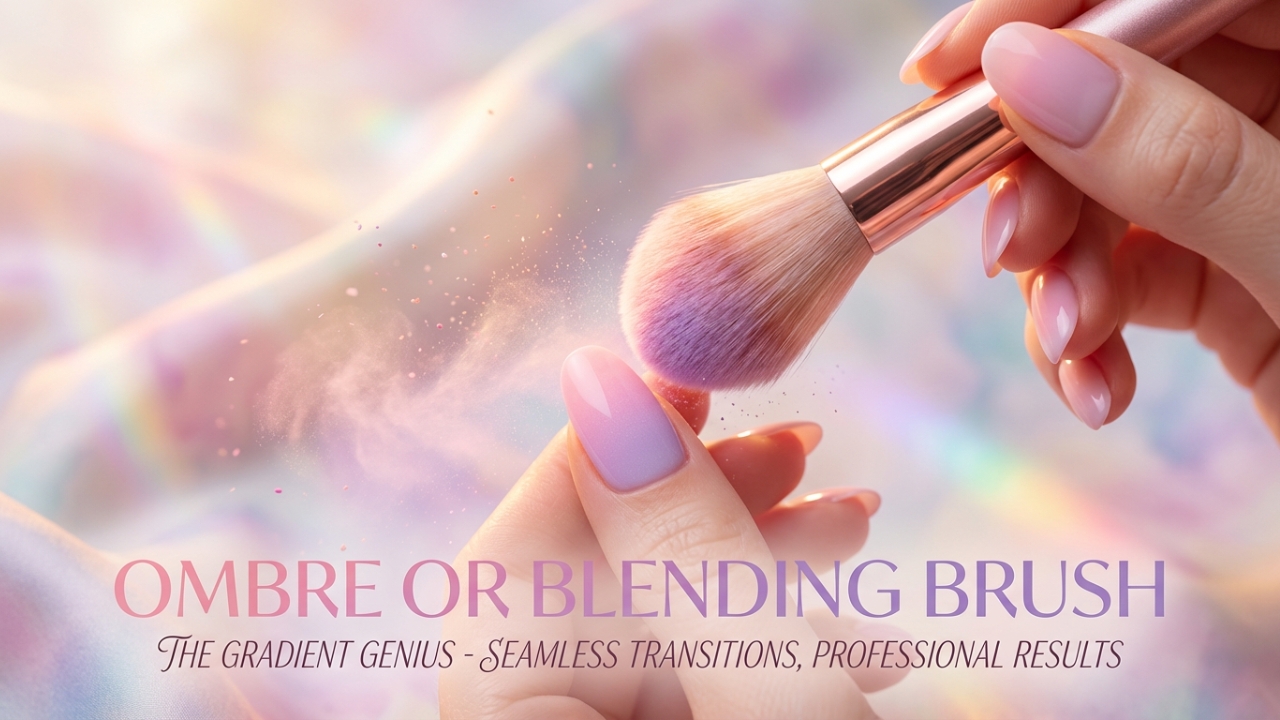
6. The Ombre or Blending Brush: For Seamless Gradients
Check Price on Amazon
While a fan brush can do some blending, the ombre brush is specifically designed to create those stunning, seamless color fades we all love. This brush is typically fluffy and soft, allowing it to pick up and deposit color very gently. It’s the secret weapon behind the popular “aura” nails and classic ombre fades where one color melts into another.
The key to using this brush effectively is a light hand. You want to stipple or softly pat the colors together rather than brush them harshly. This technique diffuses the line where the two colors meet, creating a soft, gradient effect. As you explore nail design, a dedicated ombre brush opens a whole new world of artistic possibilities. It’s a must-have for staying on trend.
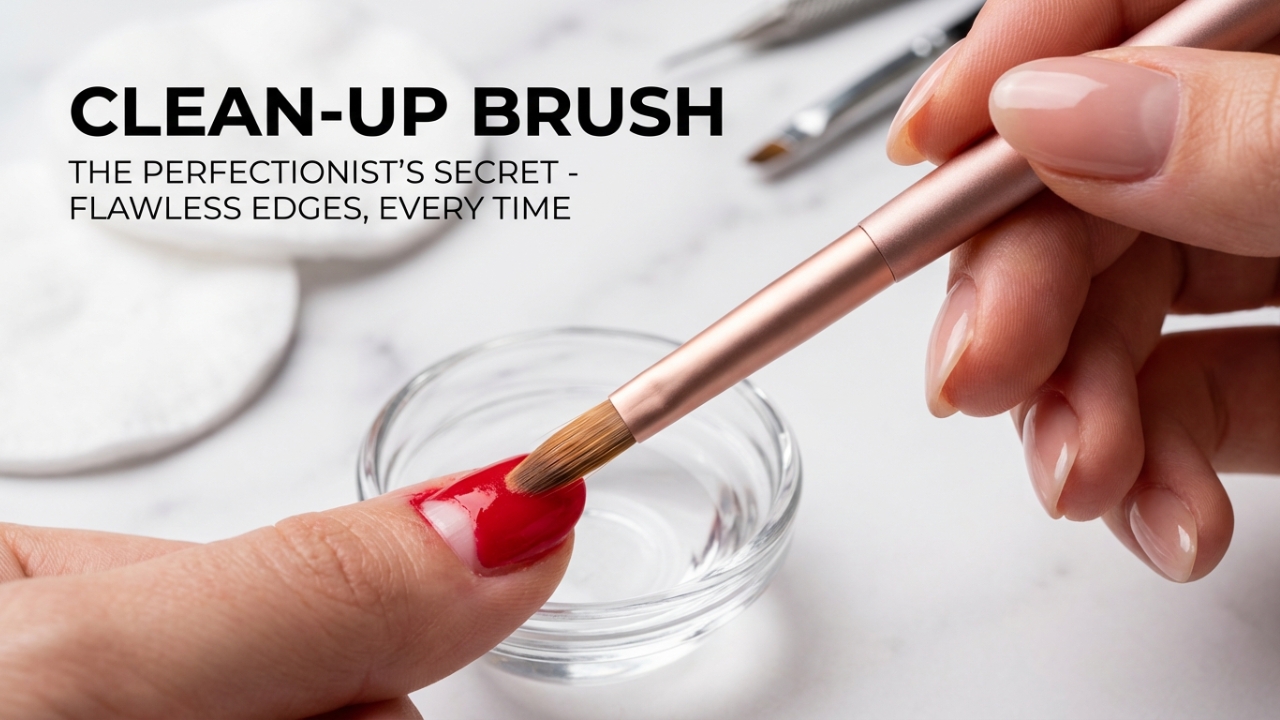
7. The Clean-Up Brush: The Secret to a Professional Finish
Check Price on Amazon
Okay, let’s be real. Cleanupcond. No matter how careful we are, polish sometimes ends up where it shouldn’t—on our cuticles or skin. That’s where the cleanup brush comes in, and honestly, it’s the closest thing to a magic cleanupwe have in the nail world. This is a small, firm brush, often flat or angled, that you dip in nail polish remover to meticulously clean the edges of your manicure.
Using a cleanup brush is the single best way to make your at-home manicure look like it was done in a high-end salon. After you’ve painted your nails, simply dip this brush in a bit of acetone, gently wipe away the excess polish from your skin and cuticles, and voila! You have a perfect, crisp line. It’s a simple tool, but it makes a world of difference. Don’t forget to have cuticle oil on hand to rehydrate the skin after using acetone.
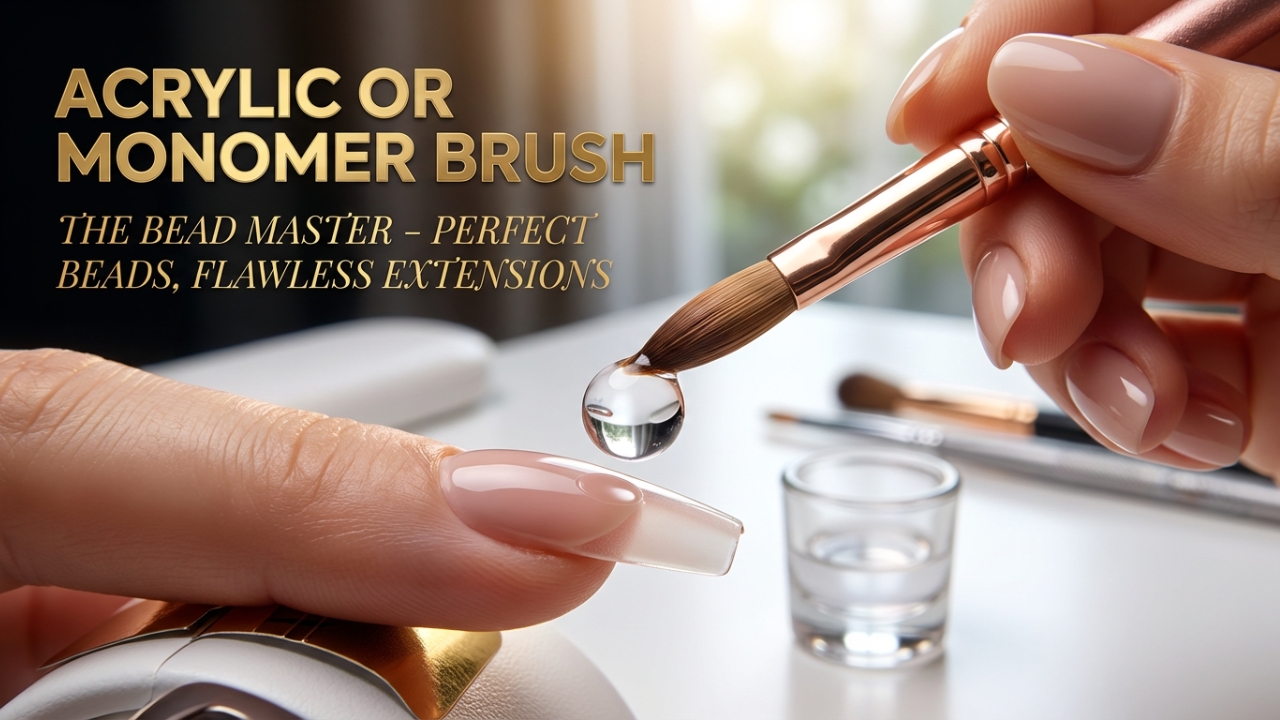
8. The Acrylic or Monomer Brush: The Sculptor’s Tool
Check Price on Amazon
If you’re diving into the world of acrylics, this brush is non-negotiable. An acrylic nail brush set is specifically designed to facilitate the chemical reaction between the monomer (liquid) and the polymer (powder). These brushes, often made with high-quality Kolinsky sable, are prized for their ability to hold a perfect bead of acrylic without it dripping. The bristles are resilient and snap back into shape, allowing you to sculpt and shape the acrylic smoothly over the natural nail or a tip.
Using the right acrylic brush is crucial for controlling the product. A good one will help you place the bead exactly where you want it and then guide it to create a smooth, even surface without bumps or unevenness. Whether you’re doing overlays, extensions, or 3D sculpting, this brush is your primary tool. Best professional nail art brushes for acrylic work are an investment, but they can last for years with proper care.
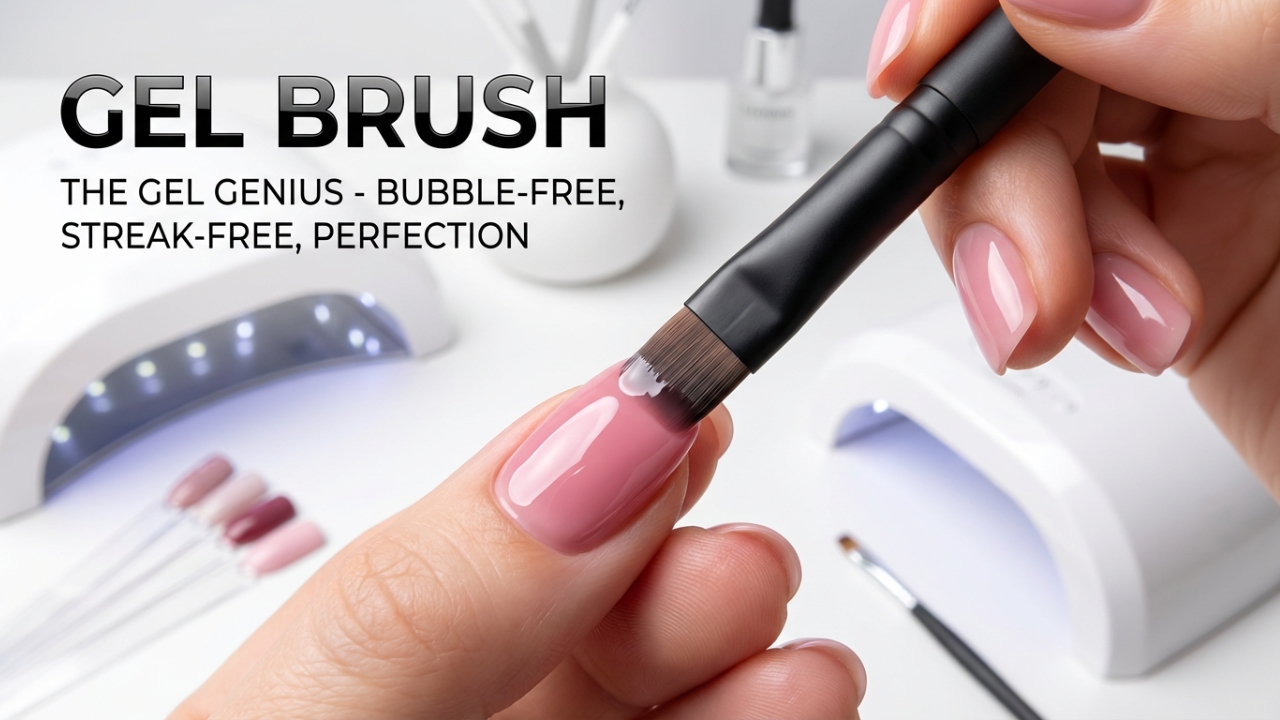
9. The Gel Brush: The Finisher for Flawless Gels
Check Price on Amazon
Working with gel requires a different kind of brush. Since gel is a thicker, tacky substance, you need a brush with synthetic bristles that are resistant to the product and easy to clean. A dedicated gel brush is usually firm but flexible, allowing you to pat and float the gel over the nail without creating bubbles or streaks. It’s essential to apply builder gel, rubber base coats, and even colored gels smoothly.
A good gel brush helps you control the product’s placement, especially near the cuticles and sidewalls, to prevent flooding. This prevents the gel from coming into contact with the skin, which is not only messy but can also lead to allergies. Having a quality gel brush in your nail art brushes set is key to achieving those thick, strong, and perfectly smooth gel nails that last for weeks.
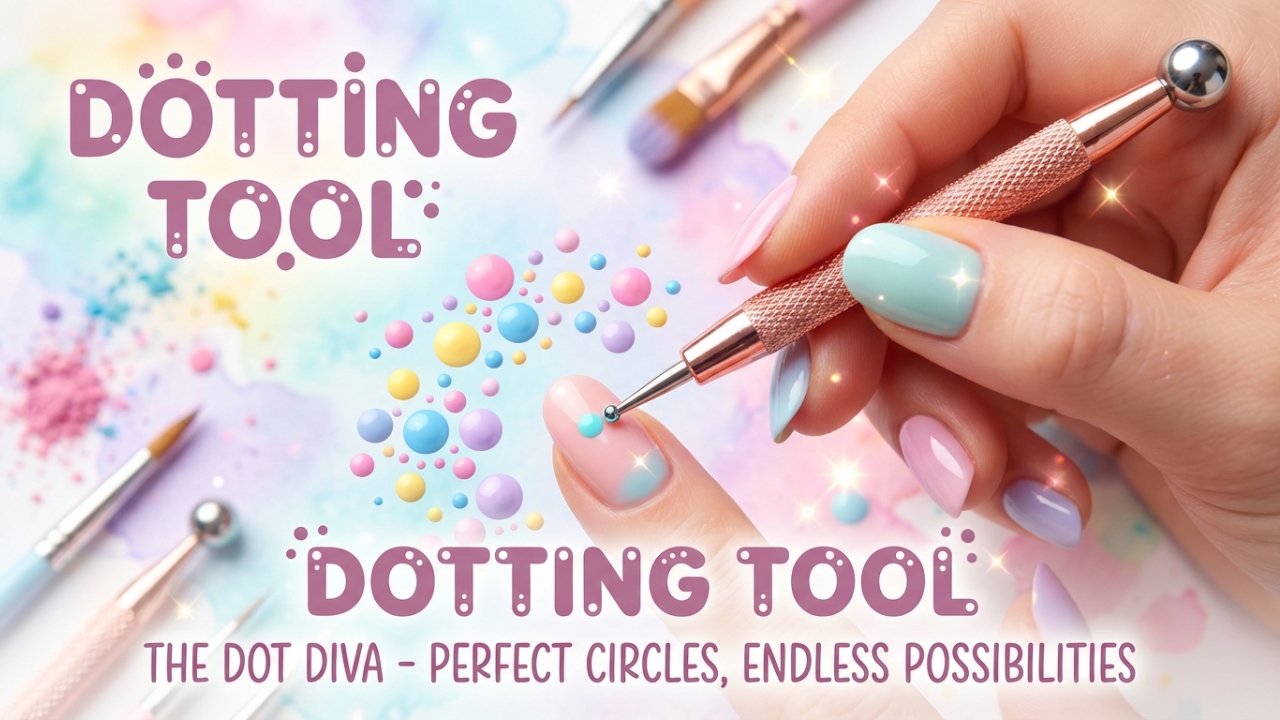
10. The Dotting Tool: The Fun and Easy Design Creator
Check Price on Amazon
Okay, so technically this isn’t a “brush,” but no list of essential nail art tools would be complete without it. The dotting tool is a simple stick with small metal balls on one or both ends. It is, without a doubt, one of the easiest tools for creating instant nail art. You dip the ball into nail polish and then touch it to your nail to create perfect dots every time.
The possibilities with a dotting tool are endless. With just dots, you can create flowers (five dots in a circle), cute ladybugs, leopard prints, or fun polka dots. By dragging a dot with a toothpick or another tool, you can create hearts and swirls. It’s the perfect tool for beginners and pros alike because it requires zero artistic skill to make something that looks intentional and cute. You’ll find them in almost every boot nail brushset or basic kit.
How to Care for Your Precious Brush Collection
You’ve invested in a great nail brush set. Let’smake sure it lasts! Proper care is essential. First, never let the polish dry in your brushes. For gel brushes, wipe them with a lint-free wipe soaked in nail polish remover (specifically gel cleanser) immediately after use. For acrylic brushes, use monomer to clean them thoroughly, shaping the bristles back to a point with your fingers.
Store your brushes properly by laying them flat or with the bristles pointing up. Never store them bristle-side down, as this will bend and ruin the shape. Also, avoid soaking the ferrule (the metal part that connects the bristles to the handle) in liquid, as this can loosen the glue and cause bristle loss. And remember, a little love goes a long way. Clean your brushes after every use, condition them occasionally with a bit of cuticle oil, and they will reward you with flawless performance for years to come.
Building Your Ultimate Kit
Starting your collection can feel overwhelming. You don’t need to buy everything at once. Begin with a small nail art brush set that includes a detail brush, a liner, and a dotting tool. As you grow, you can invest in specialized brushes, such as an angled brush or a high-quality acrylic brush. Whether you’re browsing for a professional nail art brushes set or just looking forthe best brushes for nail art beginners, remember that quality matters more than quantity.
We hope this guide has helped you understand the magic behind each brush. Now go forth and create some amazing art! And don’t forget, for all your nail supply needs, from nail glue to the latest gel nail polish, Nail Shop HUB is here for you. Happy painting