
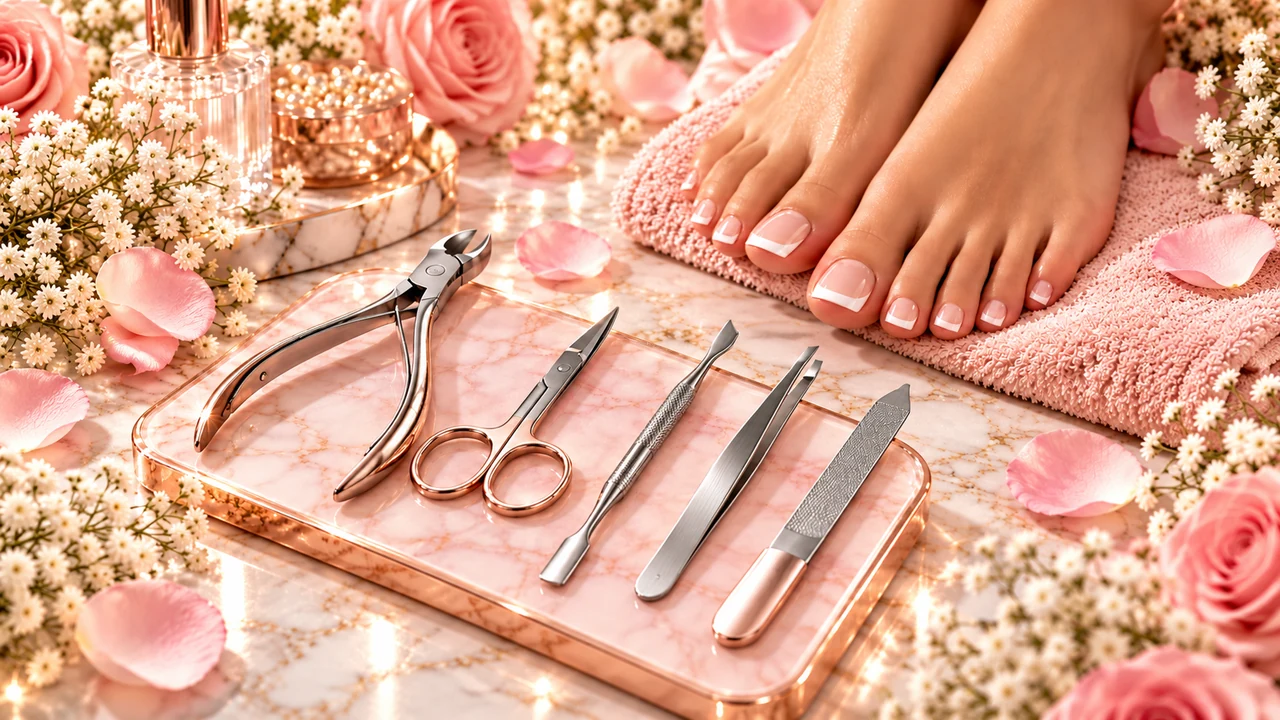
A polished pedicure can be a simple part of your beauty routine, whether you enjoy classic French tips, glossy reds, milky neutrals, or a clean natural finish. The best at-home results come from preparation and comfortable technique rather than a large collection of expensive gadgets. This guide explains how to plan an at-home pedicure, what basic tools are useful, how to apply regular polish, and when a salon or health professional is the better option. It is intended for cosmetic care, not the diagnosis or treatment of foot or nail conditions.
What you actually need for a pedicure at home
Begin with a clean towel, mild cleanser, a nail file, suitable clippers, cotton pads or lint-free wipes, a regular-polish remover if required, base coat, your favorite nail color, and a compatible topcoat. A small brush for cleanup is helpful but optional. Toe separators may keep wet polish from touching neighboring toes, especially when painting the smaller nails. Cuticle oil or hand-and-foot cream can finish the routine once the polish is dry. Start with these essentials before considering powered tools or specialized kits.
If you are comparing products online, check precisely what a set includes. A 'pedicure kit' might contain several clippers and files, or it might be little more than toe separators and nail stickers. Product photographs should match the included contents; dimensions, material, cleaning instructions, and replacement parts may matter more than decorative packaging. Our Pedicure & Toenail Care collection lists ten product types to research, with unverified retailer links clearly marked as pending.
Step 1: Set up a clean, comfortable workspace
Choose a stable chair with good back support and enough light to see the edge of each nail. Put a towel beneath your feet and keep tools within easy reach. Good lighting is particularly important when working on the little toes, where a brush loaded with too much polish can flood the surrounding skin. Wash your hands before handling clean tools and do not share nail clippers, files, or cuticle equipment without appropriate cleaning and disinfection.
Shorten the routine if reaching your feet is uncomfortable. A salon visit may be more practical than twisting or balancing awkwardly. Anyone with impaired sensation, poor circulation, diabetes-related foot concerns, or an existing wound should seek personalized advice before trimming or treating toenails at home.
Step 2: Clean and dry feet without over-soaking
Gently wash the feet and nails using a suitable cleanser and lukewarm water. Dry carefully, including the skin between the toes. You do not need an extended foot soak to paint nails; prolonged soaking can temporarily soften the nail surface and make subsequent grooming less predictable. If polish is already on the nails, remove it according to the remover and polish instructions before starting your new look.
Step 3: Trim and shape toenails conservatively
Use clean toenail clippers that fit the thickness and width of your nails. Trim small amounts instead of taking one large cut, and avoid digging into the corners. Generally, a straight-across shape with gently smoothed edges is easier to maintain than aggressively rounded sides. Nail shape, foot anatomy, and previous problems vary, so anyone who has repeated ingrown nails or pain should ask a qualified clinician for guidance rather than experimenting with sharp tools.
A file can soften rough edges after clipping. Choose a grit intended for natural nails and stop if filing causes heat, pain, or visible thinning. Buffing away ridges is not a substitute for understanding changes in the nail, and frequent aggressive buffing can weaken its surface.
Step 4: Treat cuticles and nearby skin gently
The cuticle area helps protect the base of the nail. Avoid cutting healthy living skin or forcing a metal pusher under the nail fold. If you see dry skin, a little moisturizer after the cosmetic work is complete may be enough. Do not pick at torn skin or attempt to remove an irritated area with sharp instruments. Redness, swelling, drainage, or persistent pain calls for professional assessment, not a stronger home-removal product.
Step 5: Choose a pedicure look that fits your routine
Soft French and milky neutrals
A pale pink or translucent neutral base with a very fine white tip makes a classic French pedicure. If precision painting feels frustrating, you can practice with removable nail stickers on an artificial tip before working on your own nails. Milky colors are forgiving for everyday styling but still benefit from thin, even coats. Cream finishes and soft French variations were highlighted in 2026 pedicure editorial coverage, including UK seasonal guides.
Glossy red, chrome, and bright color
Rich cherry red is a timeless option, while a chrome-style shimmer can make a minimal color more reflective. Many 'chrome' looks require special compatible products or salon steps; a regular shimmer topcoat is a simpler alternative when you are not using gel. For warmer months, a soft peach, baby blue, or playful dot accent can give a different effect without changing every nail. Choose what you enjoy wearing rather than treating a trend list as a ranking of what everyone must buy.
Press-ons and decorative stickers
Toe-specific press-ons and gel-style nail stickers offer decorative options without requiring detailed freehand painting. They are not interchangeable with every fingernail set: nail sizes, curvature, adhesive, wear time, and removal instructions matter. Choose a kit made for toenails and follow its manufacturer directions exactly. Never force a tip onto a nail that is injured, lifted, discolored, or sore.
Step 6: Apply regular nail polish in thin layers
Once the nail is clean and fully dry, apply a compatible base coat, keeping a small gap from the surrounding skin. Wipe excess polish from one side of the brush and use controlled strokes: begin near the cuticle without touching it, sweep toward the free edge, then fill the sides. Apply the manufacturer's recommended number of thin coats rather than one thick layer. Allow the surface to settle between coats and keep feet still until the polish is dry enough for a topcoat.
A fine cleanup brush with an appropriate remover can neaten small smudges along the skin. If you have sensitive skin, avoid repeated soaking with remover. Finish with a compatible topcoat and let the finish dry thoroughly before putting on socks or close-toed shoes. Tight footwear applied too early may imprint or smudge the polish even when the surface looks set.
Step 7: Keep your pedicure looking fresh
Use footwear that does not press against recently painted nails. Wash and dry feet routinely, apply moisturizer to dry skin where suitable, and be gentle when removing polish. Avoid scraping or peeling gel products, artificial tips, or stubborn adhesive off the natural nail. If a product does not lift using its recommended removal method, stop and consult the brand guidance or a licensed nail professional.
You can also extend the usefulness of your tools: clean clippers and reusable accessories according to their material and the manufacturer's care instructions, allow them to dry, and store them separately from used cotton or damp towels. Replace damaged files and bent or rusty tools rather than relying on them to deliver a precise result.
Shopping checklist: ten pedicure product types to compare
- French press-on toenails: look for toe-specific sizes, clear adhesive and removal guidance.
- Short square toe tips: choose a comfortable length and suitable curvature.
- Wide-jaw toenail clippers: compare blade fit, grip, and ease of controlled cuts.
- Decorative gel-style toenail stickers: check formula compatibility and curing requirements.
- Pedicure tool kits: evaluate the contents instead of assuming every pictured tool is included.
- Foam toe separators: prioritize comfortable sizing and single-use or cleaning guidance.
- Nail files and buffers: choose a gentle grit intended for natural nails.
- Cuticle oil: compare ingredients, fragrance, and applicator style.
- Pedicure polish sets: confirm actual colors, bottles, and formula type.
- Floral toenail stickers: compare decal dimensions and how a topcoat affects wear.
These are categories to investigate, not claims that any particular Amazon listing has been tested or is a bestseller. Actual retailer images, links, prices, availability, and affiliate eligibility will be confirmed before the site's product recommendations are activated.
Frequently asked questions
How often should I repaint toenails?
There is no single schedule that suits everyone. Repaint when you want a different finish, when regular polish is noticeably chipped, or when the retailer recommends removal. Give nails appropriate care and avoid leaving damaged coatings in place for appearance alone.
Can I use fingernail press-ons on my toes?
A kit designed specifically for toenails is the safer practical choice for fit and comfort. Curvature and sizing differ, and the adhesive and removal instructions may also differ. Do not force a poorly fitting artificial nail onto the nail plate.
Do I need a UV lamp for a pedicure?
Ordinary air-dry nail polish does not need a lamp. Some gel products and semi-cured wraps require a compatible lamp and exposure specified by their manufacturers. Never assume all products cure with the same equipment or timing.
What if a toenail looks yellow, thick, painful, or separates from the skin?
Those changes can have many causes and should not be covered up or treated based on a beauty guide. Seek advice from a qualified healthcare professional, especially when pain, swelling, redness, drainage, or a medical risk factor is present.
The takeaway
For a beautiful at-home pedicure, choose comfortable preparation, good light, gentle shaping, controlled polish application, and a realistic aftercare routine. Start with a few functional tools, explore finishes that work with your footwear and style, and verify product details before buying. For more ideas, browse our Pedicure & Toenail Care collection or read the existing nail polish application guide.