
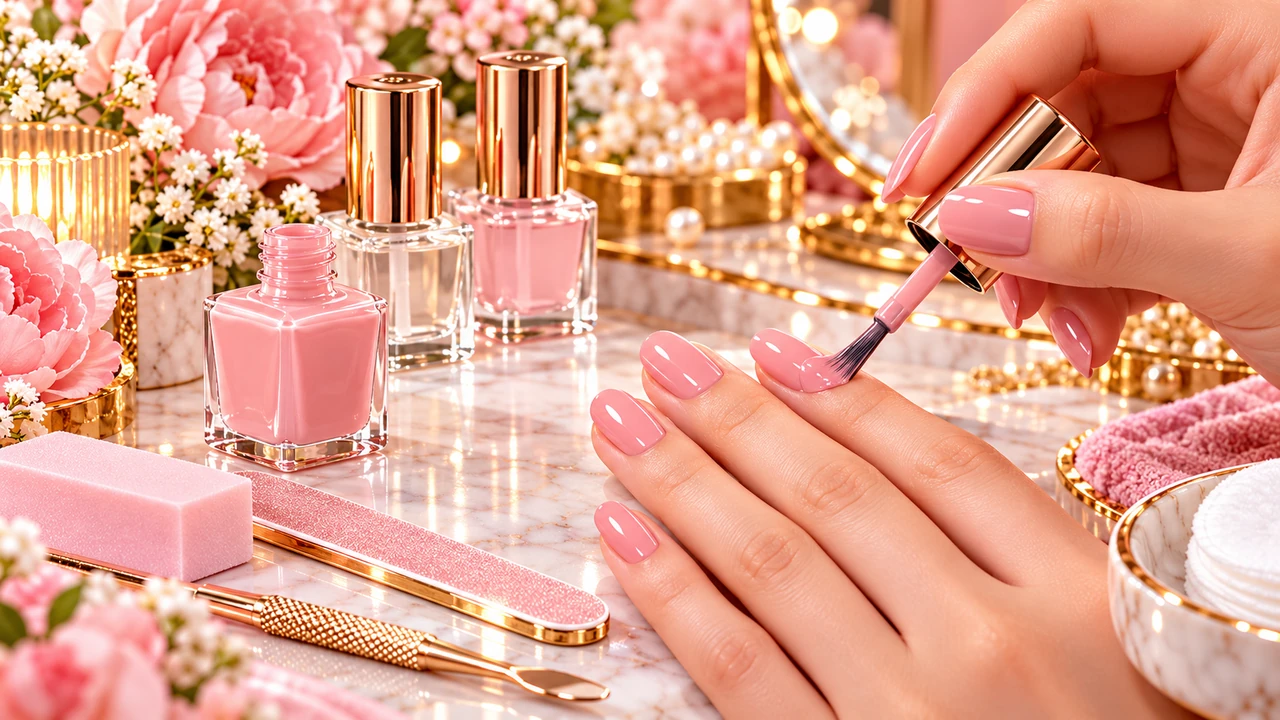
A smooth home manicure comes from a repeatable method, not an expensive collection of bottles. Learning how to apply nail polish evenly helps reduce streaks, smudges and chipped edges. This ten-step routine is written for traditional air-dry nail polish; UV-cured gel requires product-specific equipment and professional safety instructions.
Before you start
Set up a stable table, good light, a towel, remover, cotton, a fine cleanup brush, a base coat, your color and a topcoat. Give yourself enough time that you will not need to use your hands immediately after painting.
10 practical ideas and steps
1. Start with clean, dry nails
Remove previous polish gently, wash your hands and let nails dry completely. Cream, cuticle oil and lotion can interfere with adhesion if left on the nail plate. Work with a lint-free pad and avoid aggressive scraping or over-buffing to make the surface “grippy.”
2. Choose a practical length and shape
File in one controlled direction using a suitable fine-grit nail file, following your preferred rounded, square or squoval outline. A smooth edge reduces snagging. Resist thinning the natural nail or filing deeply into the sidewalls simply to copy a dramatic photograph.
3. Care for the cuticle area gently
Soften dry skin with a little warm water before the painting session, then thoroughly dry. You can carefully push back visible cuticle with gentle pressure, but do not cut healthy cuticle or tear hangnails. The cuticle is a protective barrier, not an imperfection to remove.
4. Prep the nail plate without rough abrasion
Use a gentle nail cleanser or remover suitable for natural nails to lift surface residue. If your nails are fragile, skip unnecessary buffing. A clean, intact nail is a better foundation than a heavily filed nail that becomes sore or thin.
5. Apply a thin, even base coat
Choose a base coat compatible with your regular polish. Place the brush near the cuticle, leaving a narrow margin, and sweep to the free edge in long strokes. Do not flood the skin; excess base coat can make the entire manicure lift.
6. Load less color on the brush
Wipe one side of the brush against the bottle neck so a manageable amount of polish remains. A thick bead creates pooling near the cuticle and takes much longer to dry. If you have narrow nails, use a smaller brush or fewer strokes.
7. Use the three-stroke method
Start down the center, then sweep along each side while staying just shy of the skin. Work lightly rather than pressing the brush into the nail. The goal is an even first coat—not full opacity at any cost. Practice on your dominant hand first if coordination is challenging.
8. Let each thin coat settle
Follow the polish maker’s drying instructions before adding another layer. Two thin coats typically dry more predictably than one heavy coat, although some sheer finishes need a third light pass. Avoid fans that blow dust toward wet polish.
9. Cap the tip and finish with topcoat
Gently pass the color or topcoat brush across the free edge if the length permits, without building a blob. Apply a compatible topcoat from cuticle area toward the tip. A thin topcoat gives shine and can help reduce early edge wear.
10. Clean edges and protect the cure time
Use a small brush lightly dampened with suitable remover to tidy mistakes around the nail—never dig into skin. Even when polish feels touch-dry, deeper layers may still mark. Avoid tight shoes, hot water and heavy handwork until fully set.
How to put this advice into practice
For a professional-looking result, focus on polish consistency, brush control and good lighting rather than complicated nail art. If you paint your dominant hand awkwardly, place both elbows on the table and rotate the finger you are painting instead of twisting the brush.
Common mistakes to avoid
Common mistakes include painting over hand cream, shaking a bottle vigorously until it bubbles, applying one thick coat, trimming the cuticles aggressively and touching the nail before the inner layers have set.
Frequently asked questions
How many coats of nail polish should I apply?
Often a thin base coat, two light color coats and a thin topcoat work well; sheers and pigmented formulas vary.
How do I prevent brush streaks?
Use a small, consistent amount of polish and let it self-level rather than repeatedly brushing the same area.
Why does my polish chip the next day?
Oils on the nail, thick layers, inadequate drying and rough activity are common factors; try improving prep and wear habits before blaming the shade.
A five-minute practice drill
Before painting a full manicure, practice loading the brush on a plastic nail swatch or an old clean nail display tip. Try creating a neat edge without touching the surrounding surface. Practicing a thin center stroke followed by two side strokes teaches consistent pressure. Then try with your non-dominant hand while keeping your elbows supported. Small improvements in brush control can make a larger difference than changing polish brands.
Troubleshooting bubbles, smears and uneven color
Tiny surface bubbles often appear when polish is thick or brushed repeatedly while drying. Instead of going over the same tacky spot, allow the coat to dry and gently correct it with the next thin layer. Smudges may happen when the surface seems dry but layers beneath remain soft. A bumpy finish can also come from old polish, dust or a brush overloaded with product. If a nail becomes messy, a fresh start is usually easier than building more layers.
What to consider when buying basic tools
You do not need a large salon kit to begin. A reliable fine file, soft cleanup brush, compatible base coat, chosen shade and topcoat cover most regular manicures. Pick polish with a brush width that fits your nail beds. Keep cotton or lint-free pads nearby, and store bottles tightly closed away from heat and direct sunlight. Focus on a few tools you can handle confidently rather than buying a new gadget for every tutorial.
Final thoughts
A polished manicure is a collection of small habits: prepare gently, apply thin layers, allow genuine drying time and treat natural nails kindly. With practice, a simple color can look refined at home.
Related reading from NailShopHub
Images are illustrative NailShopHub category visuals, not verified Amazon product photographs. This article offers general educational guidance, not medical advice. Follow manufacturer instructions and seek professional care for pain, inflammation, infection or uncertain removal procedures.